Perhaps no other iris is as influenced by good culture as Japanese iris, properly known as Iris ensata. Demanding in their needs but if met they will reward you with tall robust plants and larger blooms. Hardy in zones 4-9.
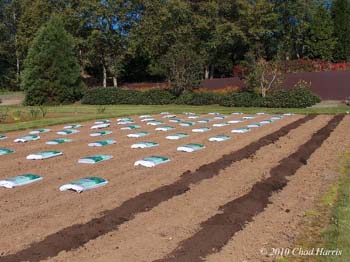
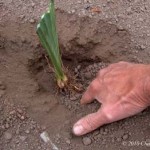
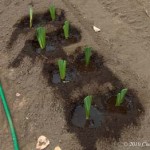
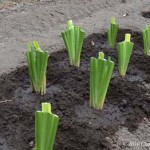
Planting: Newly received plants that are bare root should be soaked in cool water for a few hours or overnight. Plant individual rhizomes 2-3 inches deep, 6 to 8 inches apart. Give a good 18 to 24-inch spacing between differently named rhizomes. Water in well to start the root development, do not let new transplants dry out, and keep evenly moist. Planting in a shallow depression will allow you to flood irrigate the plants. New transplants may not bloom in the first year, if they do they will not be representative of the plant by blooming small and short. Expect your best bloom on 2 and 3-year-old plants.
Caution: Do not use bone meal. This has the same effect as lime and can kill Japanese irises. Also, do not fertilize newly planted (or transplanted) Japanese iris as this can burn the roots.
Soil requirements: Japanese irises prefer a rich, loose soil with ample organic matter. An addition of well-aged manure and compost will help in water retention as well as adding nutrients. The soil PH should be slightly acid, ideally between 5.5 to 6.5.
Water: Japanese irises do not like to dry out. Constant moisture will reward you with healthy plants and larger blooms. Wet in the spring and keep moist all summer. They do very well near water (this is where they naturally grow) or where the water table is high. The crown of the plant needs to be above the water line.
Light: Full to part sun with a minimum of 6 hours to bloom well. In areas with hot intense sun and heat the plant and bloom will do best with morning sun and afternoon shade.
Fertilizer: Japanese iris are heavy feeders. Depending on your soil a liberal application of balanced fertilizer for acid loving plants (Rhododendron, Camellia) in the spring just before or after bloom is beneficial. Most soils with heavy watering will usually need more nitrogen (Ammonium sulfate) applied. Do not apply fertilizers to new transplants.
Mulching: A mulch of 2 to 4 inches is recommended. This will keep the soil cool, retain moisture, and suppress weeds.
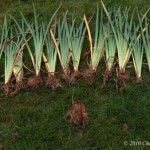
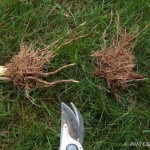
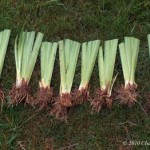
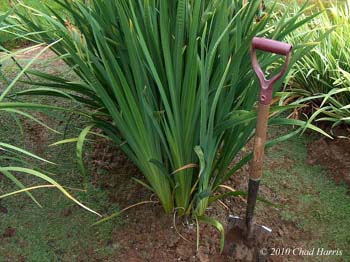
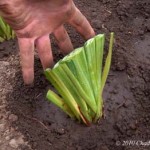
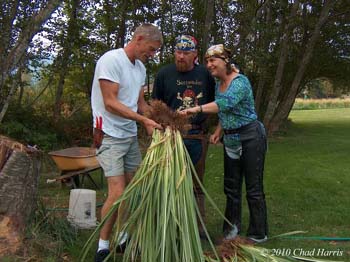
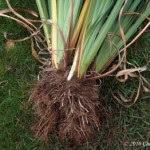
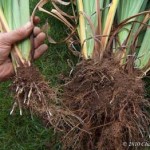
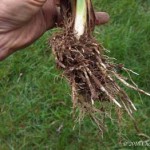
Transplanting: Japanese iris can be transplanted almost anytime from spring until fall if you keep the plant evenly moist, and the temperatures are below 95 F and above 32 F for a month or two afterward. Dig and divide your plants every 2 to 4 years to maintain plant vigor. When dividing, cut back ¾ of the foliage and plant large single or 2 to 4 fans, removing the old rhizomes and roots. Cooler maritime weather areas will find that transplanting right after bloom will get the plants back to bloom size for the following year. Plant 2 to 3 inches deep in new soils that have been worked up and amended. Your best bloom will be on 2 and 3-year-old plants. Note: New roots form above the old roots each year forcing the crown up and out of the soil. It is critical to transplant every 2 to 4 years.
Winter Dormancy: Remove and destroy old foliage with a serrated knife after a light frost, cutting the plants to the ground.
Pests: Slugs and snails; bait if damage is seen. Thrips and iris borer can be controlled with a systemic insecticide (i.e.: Merit or Orthene) following manufacturers’ instructions.